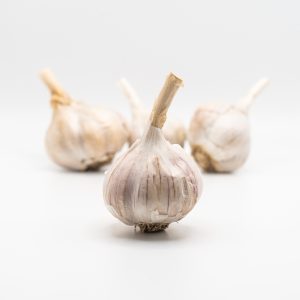
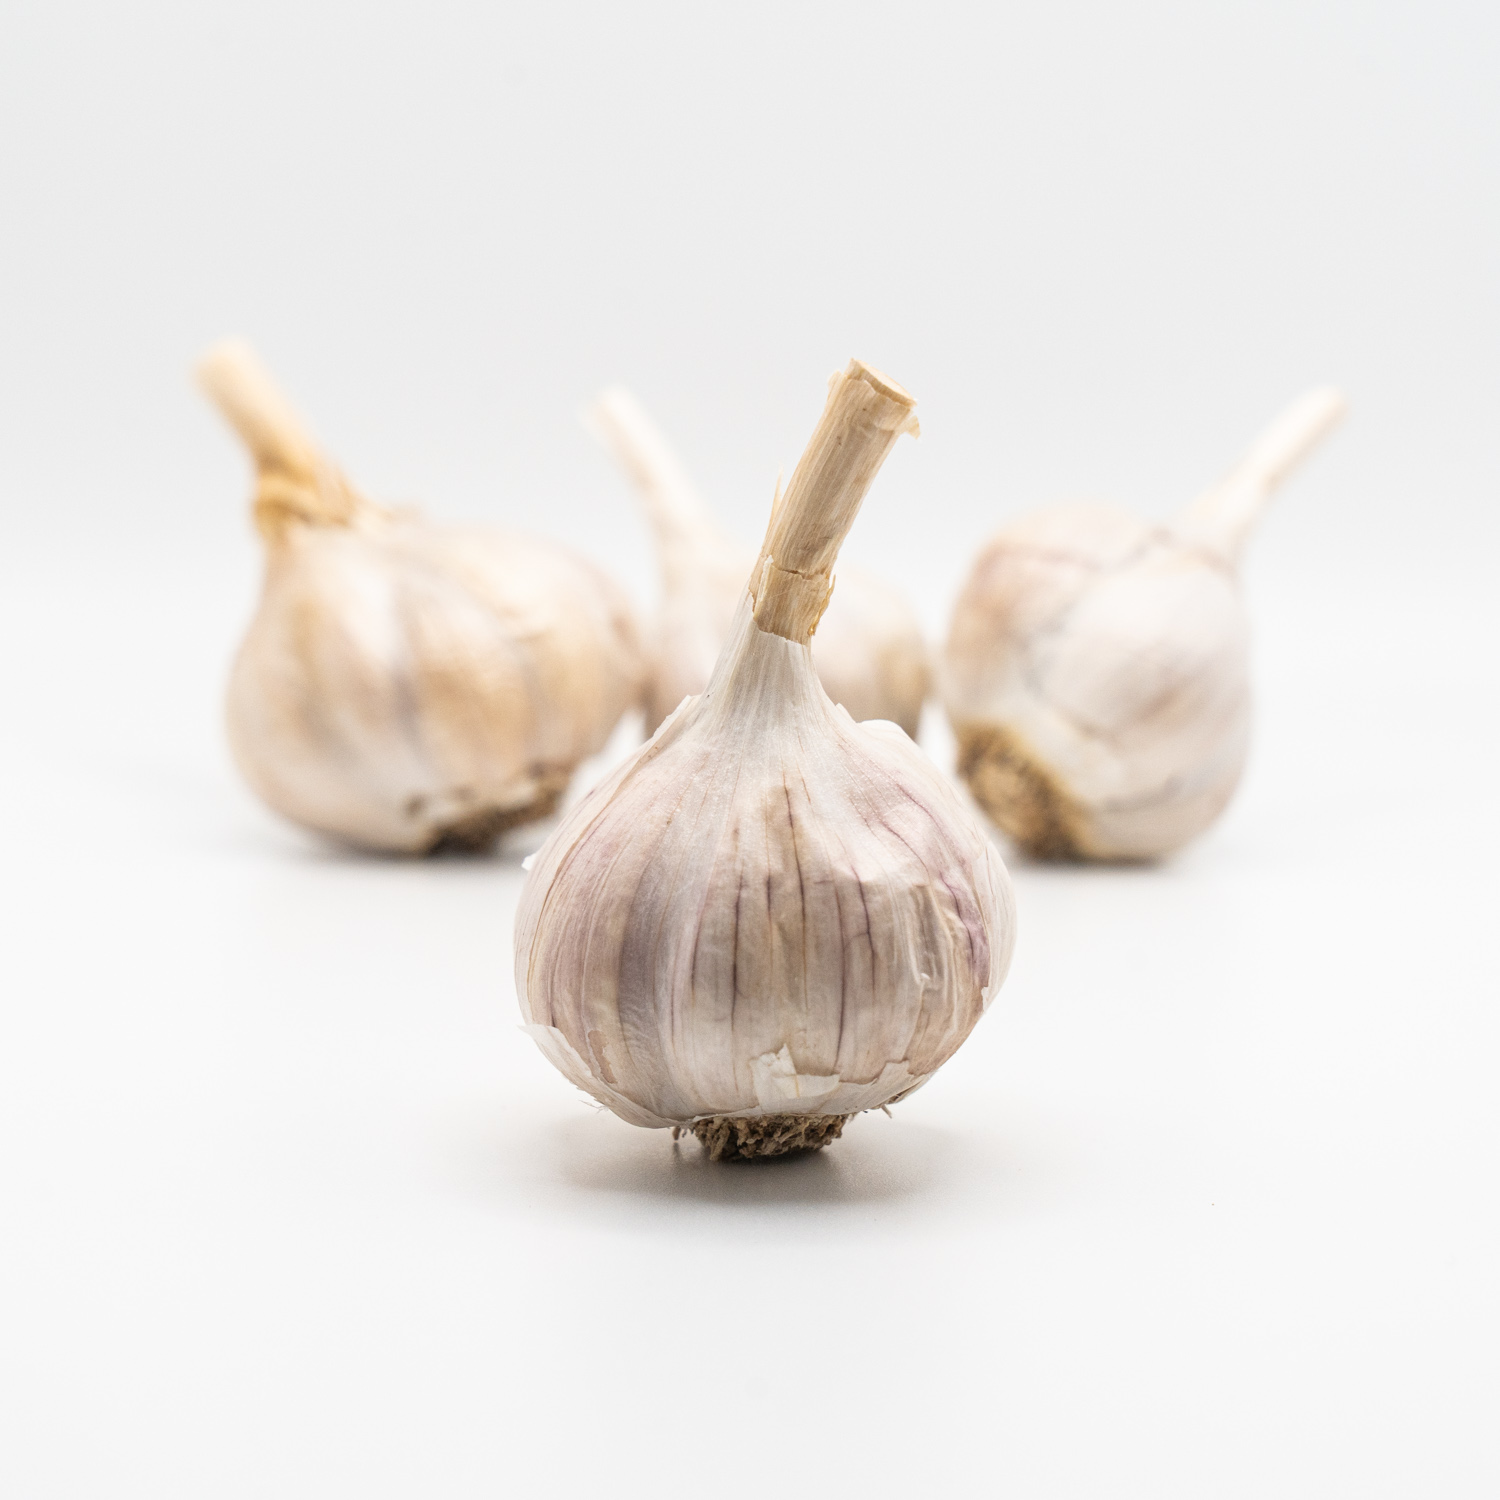
 Georgian Fire Garlic originates in the mountainous, agricultural Cichisdzhvari region of the Republic of Georgia, between the Black and Caspian Seas. The region is also known for its wine and grapes, stone fruits, and mineral water from Borjomi.
The question of Georgian Fire got into our gardens in the US is a bit more complicated.
Some people say that Georgian Fire was first cataloged by the Gatersleben GeneBank, a German institution tasked with conserving biodiversity. (A large number of garlic varieties from the Soviet Union were cataloged in the 1980s.) How the garlic made it from Gatersleben to our gardens is unclear in this version of the story.
However, other people attribute the discovery of Georgian Fire Garlic to John Swenson, a garlic lover from Illinois.
Swenson was a garlic aficionado. He grew as many varieties as possible in his home garden in the 1970s and 80s. In 1989, he was invited by the USDA to travel to Russia and Central Asia as part of a team of international scientists tasked with collecting samples of native alliums (the plant genus that includes garlic and onions).
After traveling 8,000 miles, often in the dead of night, the team found thousands of samples including 120 varieties of garlic. John was allowed to grow many of these varieties in his garden, including Georgian Fire. He later donated many of his samples to the Seed Savers Exchange who take credit for helping to spread Georgian Fire Garlic around the country.
Regardless of exactly how Georgian Fire Garlic ended up in American gardens, we are lucky to have access to this spicy and fascinating heirloom garlic variety.
Characteristics of Georgian Fire Garlic

As mentioned above, Georgian Fire Garlic got its name for a reason. The garlic has a robust flavor with a lingering kick, especially when eaten raw. When cooked, the garlic retains its spicy flavor, though it does mellow a bit.
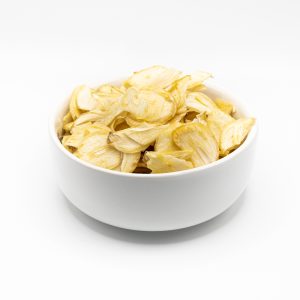
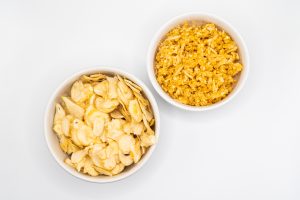
Georgian Fire Garlic only has a shelf life of a few months, so the best way to enjoy the flavor year round is to dehydrate it.
Dehydrated garlic has not been cooked, which means that you can rehydrate it and use it raw or add it to cooked dishes.
Pick up a jar of Georgian Fire Garlic and try my favorite recipe for shrimp and grits tonight.
Garlic Hot Honey Shrimp and Grits
This Dragonfly Hill Farm and Kitchen recipe uses hot sauce and Georgian Fire Garlic to make your taste buds tingle. The shrimp are great hot or cold, so be sure to make extra for leftovers the next day.
Ingredients
GRITS
- 1c Corn Grits.
- 3c Water, separated
- 1/2t salt
- 1/4c Heavy Cream
- 2oz shredded Cheddar Cheese
- extra shredded cheese, for serving
- 1-2 scallions, chopped for serving
SHRIMP
- 1lb Shrimp, thawed, peeled, deveined and
tails removed - 2T Hot Sauce of your choice, see headnote
- 2t Georgian Fire Garlic,crushed
- 1/4c Honey
- 1/4c Chicken Stock
- ~1/2c Cornstarch, for coating
- 1T Butter
- 1T Neutral Oil for cooking (Avocado,
Sunflower, etc)
Directions
- Cook the Grits: Soak the grits with 1c water for at least an hour but could be as long as 8 hours. This dramatically shortens the time you need to cook the grits and leads to a more consistent texture.
- In a heavy bottom pot, add the soaked grits, 2c water and 1/2t salt. Bring up to a boil, then reduce the heat to simmer. Stir frequently to prevent sticking.
- Cook the grits thoroughly. The grits are cooked when you can bite into them and feel softness but also a slight chew to the larger morsels. If the mixture becomes paste-like, add 1/4c water as needed.
- Once you’re at the cooked texture, turn off heat and cook your shrimp. Return to the next step when the shrimp is ready!
- Cook the Shrimp: In a small bowl, mix the hot sauce, honey, garlic, chicken stock. Taste and adjust heat if necessary.
- Pat the shrimp dry, set aside. Prepare a bowl of cornstarch ready for coating.
- Heat a wide sauté pan with butter and oil. Keep the heat to medium to prevent smoking.
- Meanwhile, begin coating your shrimp with cornstarch and add to your hot sauté pan when it’s ready.
- Cook for 2-3 minutes until the shrimp begin to get some color then flip and cook on the other side until golden. Cook the shrimp longer, flipping if needed, to cook the shrimp the whole way through.
- Once all the shrimp are cooked, add the hot honey mixture and boil for 2-3 minutes. This is a good time to finish off the grits.
- Finishing the Grits: Add the heavy cream, cheddar and salt to taste. Stir to combine and cook a smidge longer if needed to get to the proper consistency. The grits should be able to hold their shape without being pasty. With your stirring spoon, you should be able to stir and see the bottom of the pot but the grits will cover the area back up shortly.
- Season the shrimp to taste if needed then serve with grits, extra cheddar & scallions.


